Hello folks!
Here’s a way to add the Delete Functionality inside a modal:
- Create a table with an “Edit” link
- Add a Custom Component
- Add custom code to the template and JavaScript
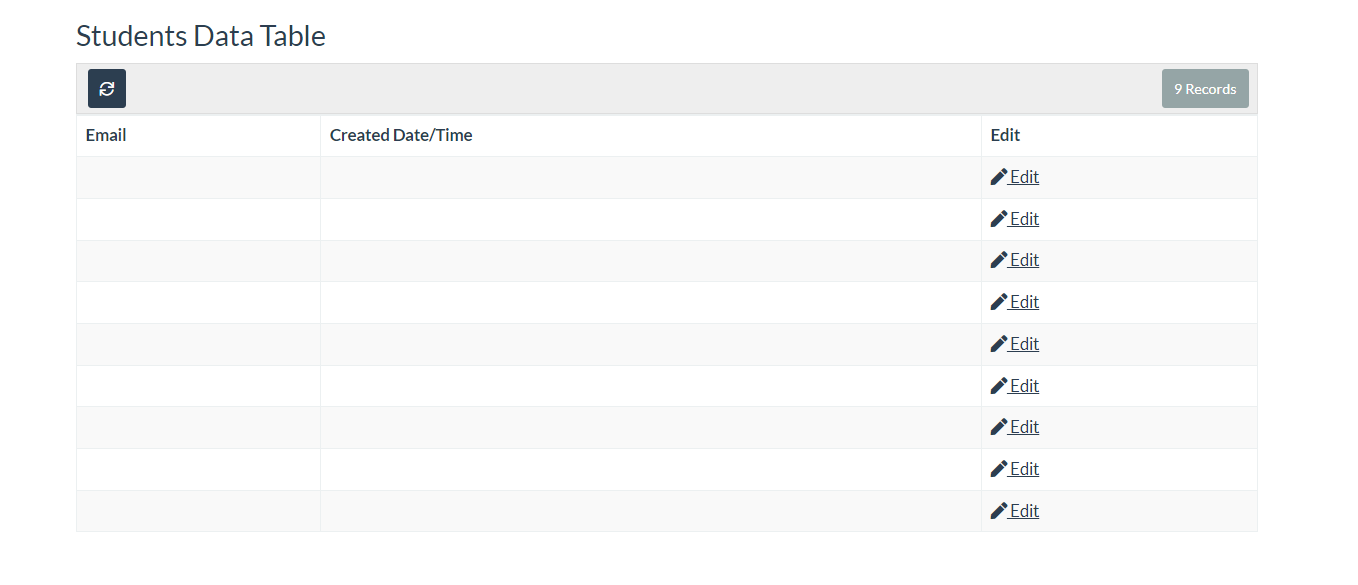
Step 1: Create a table with an “Edit” link
For this example, we will create a “Student” Table with an “Edit” link

Step 2: Add a Custom Component
Inside “Edit Students Page” we will add a custom component, in this case, we’ll use a Detail page.
Step 3: Add custom code to the template and JavaScript
Inside our template we will add this piece of code:
{{#each records}}

</br>

<p style="display:none;" id="id" >{{id}}</p>

<button class="btn btn-danger pull-left" id="delete"> Delete Record </button>

{{/each}}
We can check in the preview tab, and it should look like this: ![]()
In the JavaScript tab we will add this:
document.getElementById("delete").onclick =async  function () {
if (confirm("Are you sure you want to delete this session")) {
  var i =    document.getElementById("id").innerText
  await deleteRecord("4YZjnDNPvl",i); // In this part add your delete function
  location.reload();

}
};
You could use Tadabase delete API call or Pipes that triggers when you click this button.
Good luck!