![]()
![]() May’s in full swing and our team is dancing along! Let’s check out what we’ve been up to:
May’s in full swing and our team is dancing along! Let’s check out what we’ve been up to: ![]()
![]() Our engineers have-
Our engineers have-
![]() Launching magic links! This incredible new feature will revolutionize your app experience. Watch the video below to learn more about what this feature can do for you.
Launching magic links! This incredible new feature will revolutionize your app experience. Watch the video below to learn more about what this feature can do for you.
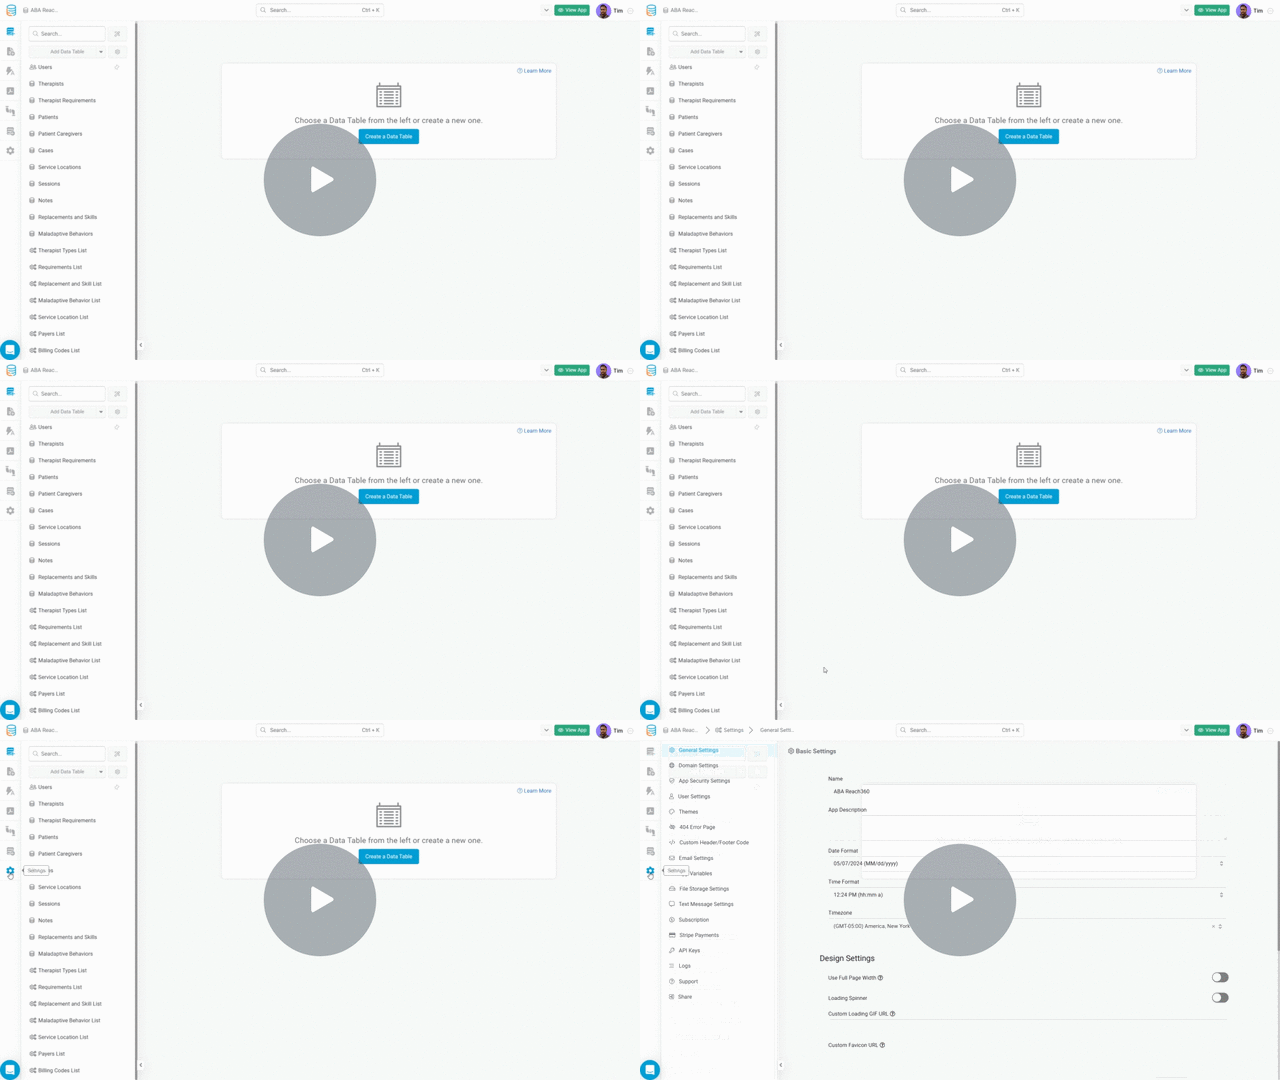
![]() Enabling and Creating Magic Links- here’s a quick video on how to enable this feature in your app:
Enabling and Creating Magic Links- here’s a quick video on how to enable this feature in your app:
Getting Started with Magic Links - Watch Video

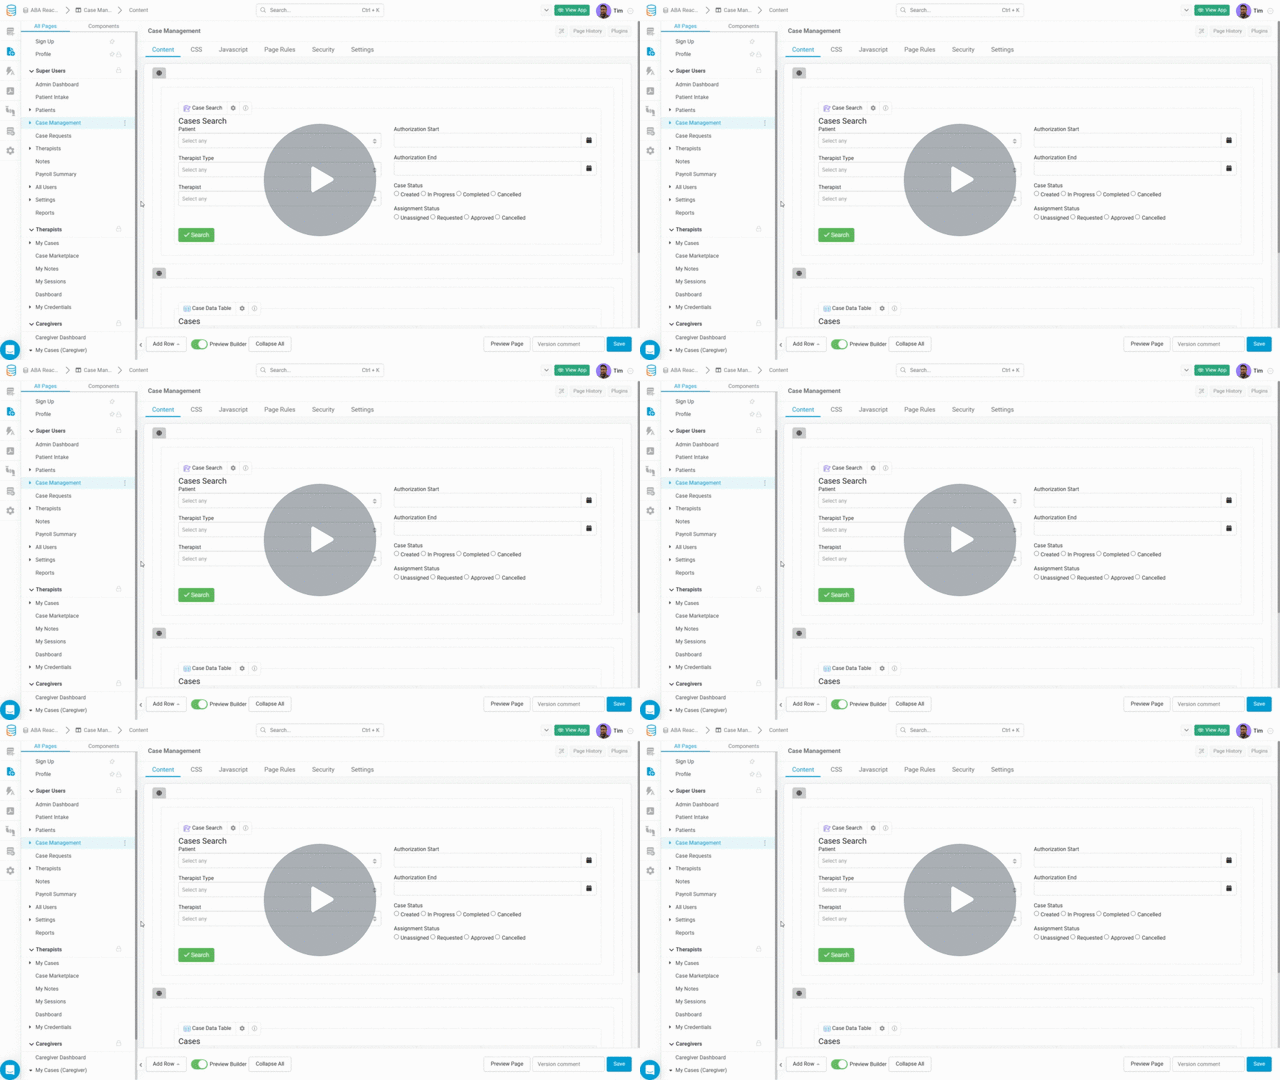
![]() Sending a Magic Link with Action Links–In this example of how to use Magic Links, we’ll use an Action Link to send a Magic Link to a user, and redirect them to a specific Detail Page.
Sending a Magic Link with Action Links–In this example of how to use Magic Links, we’ll use an Action Link to send a Magic Link to a user, and redirect them to a specific Detail Page.
Send Magic Links with Action Links - Watch Video

![]() Enabling and Configuring Magic Links in a Login Component
Enabling and Configuring Magic Links in a Login Component
In this video, learn how to enable and configure MagicLinks in a login component.
By default, users see a form with an email address and password input on the login page. However, we can change it to a magic link form.
This video will guide you through the steps to make this change and demonstrate how to edit the magic link form and customize the email template.
https://www.loom.com/share/d34a6aaaf92044b984aba47f75c4edef?sid=1e2d89a4-ac01-4923-90c1-de94ad0471a1
This rad feature will be live very soon for all users. ![]()
![]() We’ve fixed some bugs including:
We’ve fixed some bugs including:
- Issue with Get record via API - dynamic field outputs a random number (DEV-6780)
- Issue with delete links in Custom Component (DEV-7003)
For a full list of bug fixes, see our Release Notes.
![]() Plugin of the week:
Plugin of the week:
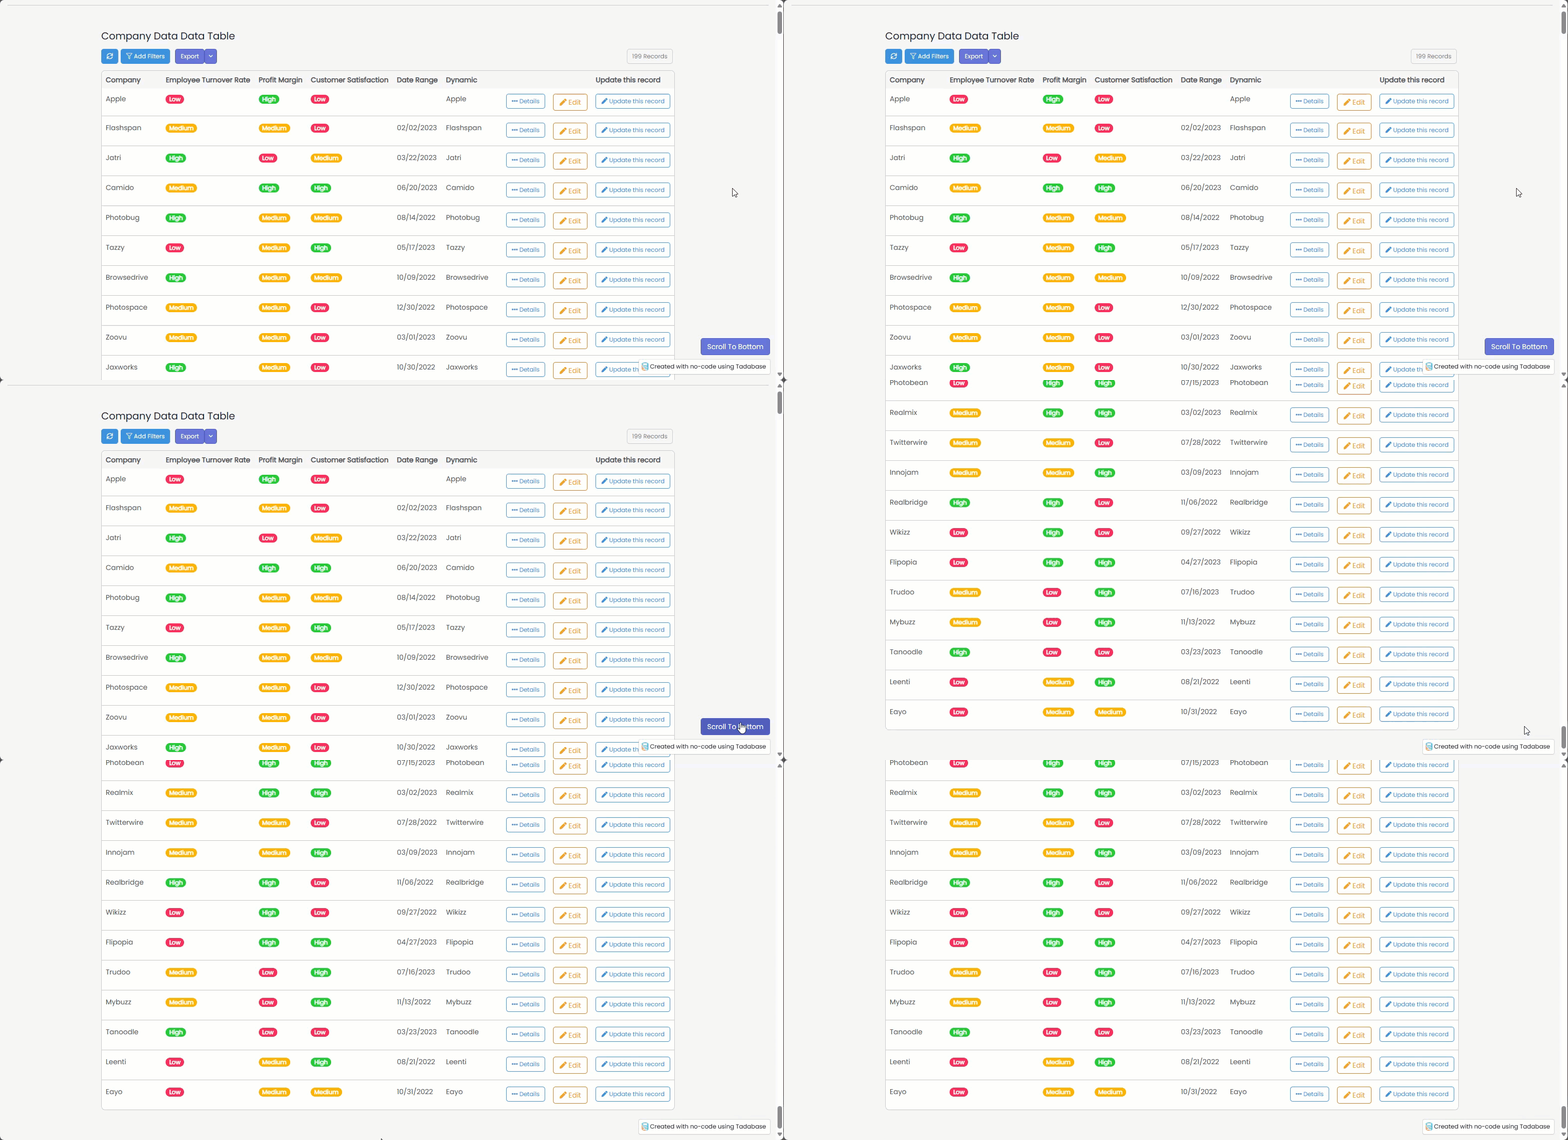
Dynamic Page Scroll Button- Add a customizable scroll button that dynamically scrolls the page to the top or bottom of the page.

![]() That’s a wrap on this one, Tadabasers. Happy building and see you next week!
That’s a wrap on this one, Tadabasers. Happy building and see you next week! ![]()